Helpful Step-by-Step Troubleshooting Guide for Assembling Your First Computer


This guide can also be used as a troubleshooting guide to find out why your computer is not working. This is basically for computer hardware and software maintenance guides.
TABLE OF CONTENT
- Prerequisites
- STEP 1: Assembly and Start-up
- STEP 2: Mounting The Motherboard
- STEP 3: Ram Memory
- STEP 4: Video Card
- STEP 5: Drives
- STEP 6: Installing Drivers for Your Computer
- STEP 7: Operating System and Software
- Conclusion
Welcome to troubleshooting guides for beginner’s articles, a series dedicated to helping when assembling your first computer system.
Prerequisites
NOTE: This guide was posted a few years ago but is still very useful, just keep in mind some things have changed and things like the beeps described are intended only as a guide and may not be the same as the beeps on your board makes. Also, many newer boards will have a guide in the manual telling you what your beep codes mean.
NOTE: Some CPU coolers mount with a push pin type connector, these take quite a bit of force to install. It would be better to install this type onto the motherboard before it is installed into the case so you can properly support it while applying that much force, it also allows you to see if the pins are fully inserted. It is also easier if you are using some of the larger aftermarket CPU coolers, to install those before mounting the motherboard inside of the case.
STEP 1: Assembly and Start-up

Install the power supply, case fans, and bay devices, install the CPU, and install the CPU cooler (don't forget to use a good quality thermal paste and don’t use too much of it).
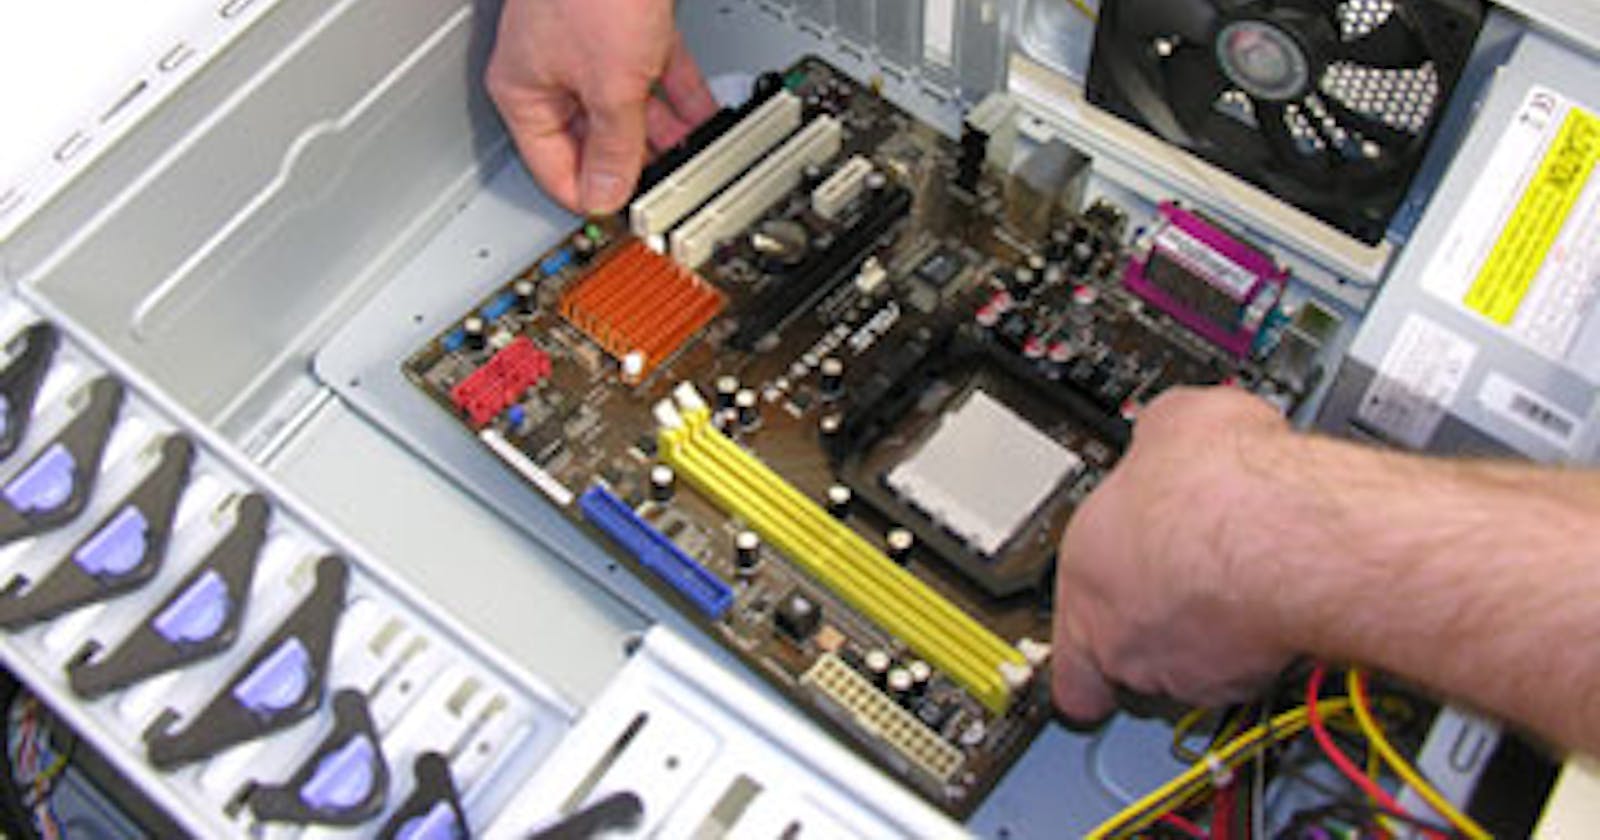
STEP 2: Mounting The Motherboard
 Install only the 1/4" stand-off risers that line up for your motherboard. (Not all of them get used) make sure the board does not touch the tray or case in any way. It should only have a contact at the standoffs that line up with your motherboard mounting holes. Each board has different standoff positions. (Don’t over-tighten standoffs because they are brass and will strip easy)
NOTE: Do not just screw in all of the standoffs they give you, this will cause a short to occur from the unused standoffs touching the board and the PSU will shut off immediately if it detects a short. So if your computer won't turn on, it could be the board is touching something it shouldn’t. Now plug the power supply unit (PSU) into the motherboard connections and case fans, plug your power cord in and turn the power on. (Don't forget there is an on/off switch on the back of the PSU, make sure it's on) You should hear a series of long beeps & all your fans should be turning. The long beeps mean the board is looking for memory. That tells you your motherboard, CPU, & PSU are working ok. Unplug the power cord. This is very important to avoid shorting out the motherboard against the motherboard tray because a PSU always has low voltage power going to the motherboard when a cord is plugged in, it's designed that way on purpose so it can turn itself on when asked to.
STEP 3: Ram Memory
Install your sticks of RAM in the appropriate slots as identified on the motherboard, it should be marked something like 1a, 1b, 2a, 2b. In this example, the numbers would mean that slots 1a and 1b are memory channel 1, and slots 2a and 2b are for memory channel 2. Always check your motherboard manual carefully to be sure you are using the right slots. NOTE: If this is your first build, be aware that the ram sticks can take more pressure than you think to seat them. use even firm pressure with both thumbs while gently lifting on the locking catches with your fingers until they lock into place, and don’t worry nothing will break.
STEP 4: Video Card
Now if you have an onboard video you should plug in your monitor and then you can Plug your power cord in and turn your power on. You should hear a power-up test which is 1 short beep. You should then see your CPU, RAM, and video card recognized on the screen. If all is well up to this point then you know that your PSU, Motherboard, CPU, RAM, and Monitor are working well. So turn off the power and unplug the power cord. If you don’t have onboard video then install your video card making sure it is fully into the slot and secured well. Install the external power wires (it may or may not require these depending on your card) and then plug your monitor into your video card. Plug your power cord in and turn your power on. You should hear a power-up test which is 1 short beep. You should then see your CPU, RAM, and video card recognized on the screen. If all is well up to this point then you know that your PSU, Motherboard, CPU, RAM, Video Card, and Monitor are working ok so turn off the power and unplug the power cord. It is normal to get a disk boot failure alert showing on the screen because you don’t have any drives installed yet. This means that everything you've installed so far is working correctly. Turn off the power and unplug the power cord.
STEP 5: Drives
Install your CD/DVD Drives and your Hard Drive, plug in the data and power wires for the drives, and turn the power on and you will see your drives recognized on the boot screen. Now all your components are working and you are ready for programming.
STEP 6: Installing Drivers for Your Computer
NOTE: Drivers that come with any parts that you buy are almost always outdated so always check for newer ones at the website of the manufacturer. When you download the latest updated drivers, you should always select to save them to your desktop first, then select run to install them. Because you have them downloaded on your desktop, later on, you can use them to make a Driver CD with all the latest updated drivers for all the hardware on your computer. That way, if you ever need to reinstall windows you will already have them handy so you can reinstall them. Some board makers have CDs that will take you to their website to use automatic driver checkers and installers for your motherboard.
Now install the motherboard drivers, I recommend going to the website of the manufacturer and downloading the latest available drivers straight from there. These are usually the chipset, audio, modem, and LAN. Now install drivers for any other things you installed like sound or networking cards that were added and not part of the motherboard itself by going to the website of that manufacturer and downloading the latest available drivers from there.
STEP 7: Operating System and Software
Now install the operating system and restart your computer. Now don't do anything else yet (including windows updates) until you install a good antivirus. There are many good free anti-viruses out there that work as good or better than the ones that you have to pay for so save your money here. A good anti-spyware program will also keep your computer running fast. (I recommend the SUPER Anti-Spyware program) Now go to the Microsoft update site and fully update windows, often this requires several restarts and going back for more updates until there are no more updates available so be patient. Now install the software and games you want on your system, then check for any available updates or patches from the manufacturer's website then reboot. Now go to the Microsoft update site and check to see if any more updates are needed. Often Microsoft will have updates for Microsoft-related software you may be using. Now go to: (Start/ all programs/ accessories/ system tools/ System Restore) and run windows “Disk Defragmenter” to streamline everything and speed up your computer.
Conclusion
Now you are finished and you should create a new system restore point by going to: (Start/ all programs/ accessories/ system tools/ System Restore)
Now you are finished and ready to enjoy your computer, but I advise you to collect all your manuals, and paperwork, to keep them in a safe place along with your software. NOTE: Please print a copy of this guide for your records, if you need it you may not be able to access the computer to get to it. It's also good to have it there with you to read over as you build the computer. I hope this guide helped you avoid any problems or solve any problems you might be having.