

Table of contents
- TABLE OF CONTENT
- Prerequisites
- STEP 1: DISCONNECT ALL THE CABLES FROM YOUR DESKTOP TOWER.
- STEP 2:PRESS THE POWER BUTTON AFTER UNPLUGGING THE COMPUTER.
- STEP 3: REMOVE THE SCREW ON THE BACK TO ACCESS THE INSIDE OF THE CASE.
- STEP 4: GROUND YOURSELF.
- STEP 5: LOCATE THE CMOS BATTERY.
- STEP 6: CAREFULLY REMOVE THE CMOS BATTERY
- STEP 7: WAIT FOR ABOUT 30 SECONDS WITH THE CMOS BATTERY OUT OF THE SOCKET.
- STEP 8: REINSERT THE CMOS BATTERY.
- STEP 9: CLOSE YOUR COMPUTER AND RECONNECT ALL THE CABLES.
- STEP 10: POWER ON THE COMPUTER AND ENTER THE BIOS.
- Conclusion
- Prerequisites
- STEP 1: DISCONNECT ALL THE CABLES FROM YOUR DESKTOP TOWER.
- STEP 2: PRESS THE POWER BUTTON AFTER UNPLUGGING THE COMPUTER.
- STEP 3: REMOVE THE SCREW ON THE BACK TO ACCESS THE INSIDE OF THE CASE.
- STEP 4: GROUND YOURSELF.
- STEP 5: LOCATE THE CMOS BATTERY.
- STEP 6: CAREFULLY REMOVE THE CMOS BATTERY
- STEP 7: WAIT FOR ABOUT 30 SECONDS WITH THE CMOS BATTERY OUT OF THE SOCKET.
- STEP 8: REINSERT THE CMOS BATTERY.
- STEP 9: CLOSE YOUR COMPUTER AND RECONNECT ALL THE CABLES.
- STEP 10: POWER ON THE COMPUTER AND ENTER THE BIOS.
- Conclusion
TABLE OF CONTENT
Prerequisites
STEP 1: DISCONNECT ALL THE CABLES FROM YOUR DESKTOP TOWER.
STEP 2:PRESS THE POWER BUTTON AFTER UNPLUGGING THE COMPUTER.
STEP 3: REMOVE THE SCREW ON THE BACK TO ACCESS THE INSIDE OF THE CASE.
STEP 4: GROUND YOURSELF.
STEP 5: LOCATE THE CMOS BATTERY.
STEP 6: CAREFULLY REMOVE THE CMOS BATTERY
STEP 7: WAIT FOR ABOUT 30 SECONDS WITH THE CMOS BATTERY OUT OF THE SOCKET.
STEP 8: REINSERT THE CMOS BATTERY.
STEP 9: CLOSE YOUR COMPUTER AND RECONNECT ALL THE CABLES.
STEP 10: POWER ON THE COMPUTER AND ENTER THE BIOS.
Conclusion
Prerequisites
Your Windows computer's BIOS password can be reset using the instructions in this user manual. By attempting to remove your BIOS memory battery, you can accomplish this. Remember that accessing the battery is not always possible with PCs.
Even when the computer is not plugged in, the motherboard is powered by the CMOS battery, which resembles a watch battery. This could be how the password is kept on your motherboard together with the system time and your computer's BIOS settings. All of these settings can be reset by taking out and re-inserting the battery.
STEP 1: DISCONNECT ALL THE CABLES FROM YOUR DESKTOP TOWER.
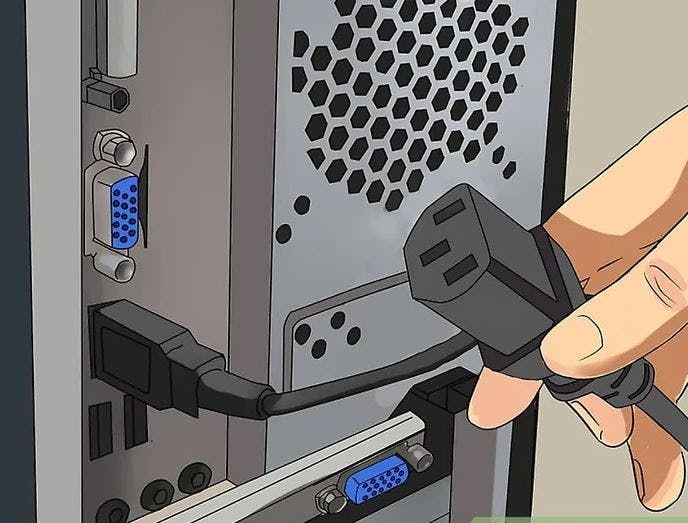
Detach all of the wires that are currently connected to the back of your desktop before opening the case. A power cable must be disconnected, so double-check.
You might be able to use this technique on a laptop as well, but you'll have to take off the case's protection from the rear. In most cases, in order to access the motherboard, you will also need to remove the battery and all of the other panels.
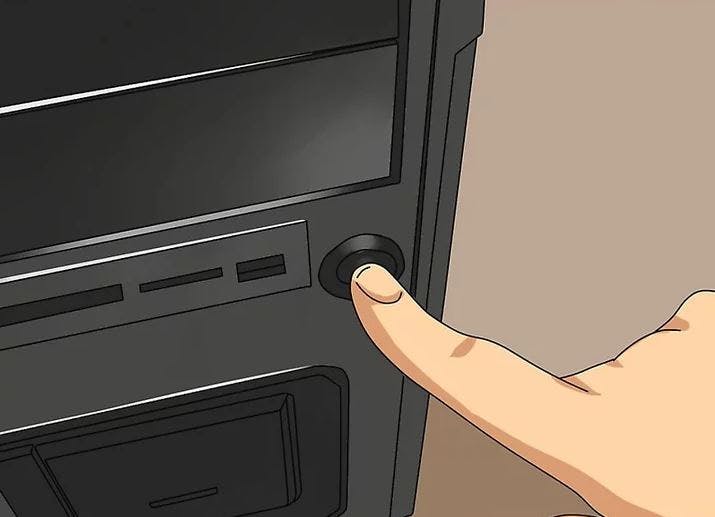
STEP 2: PRESS THE POWER BUTTON AFTER UNPLUGGING THE COMPUTER.
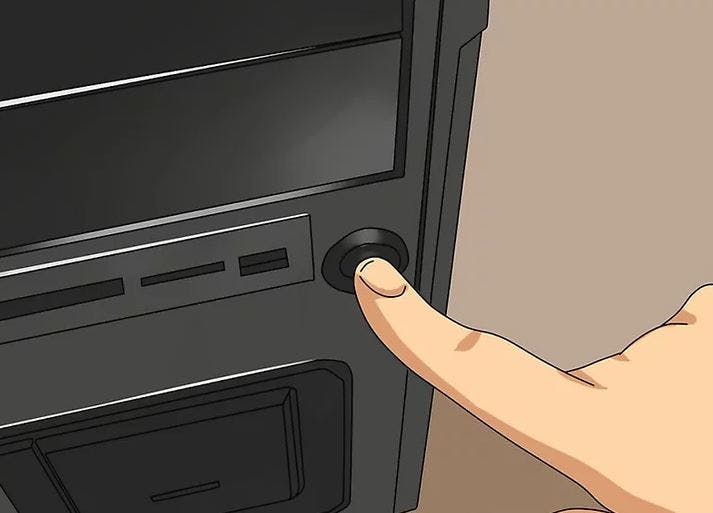
This will lessen the possibility of electrostatic damage by dissipating any charge still present in the motherboard's capacitors.
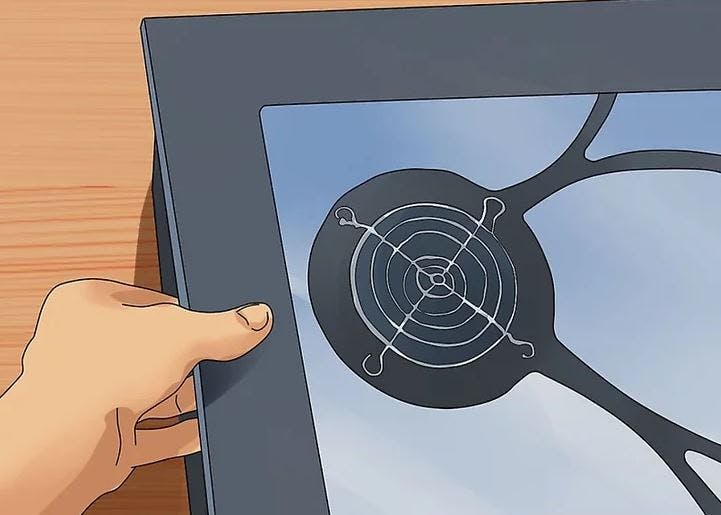
STEP 3: REMOVE THE SCREW ON THE BACK TO ACCESS THE INSIDE OF THE CASE.
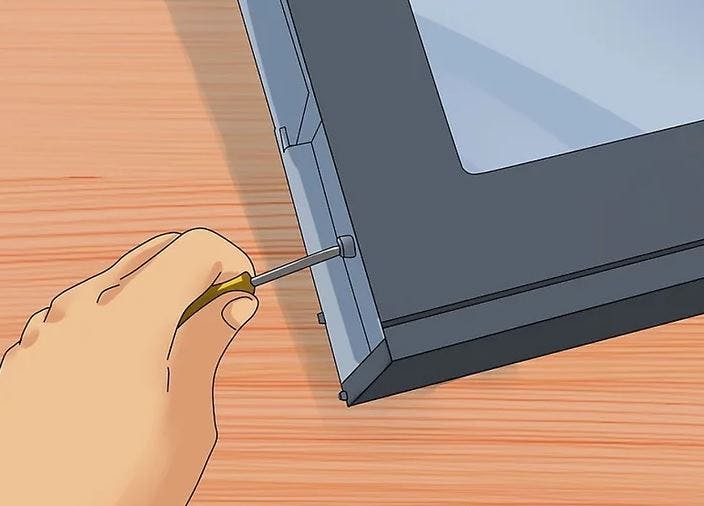
The thumbscrews on most PCs can be loosened or removed using a Phillips-head screwdriver. To access the interior without bending over, you might find it simpler to put the desktop on its side on a table or workbench.
STEP 4: GROUND YOURSELF.
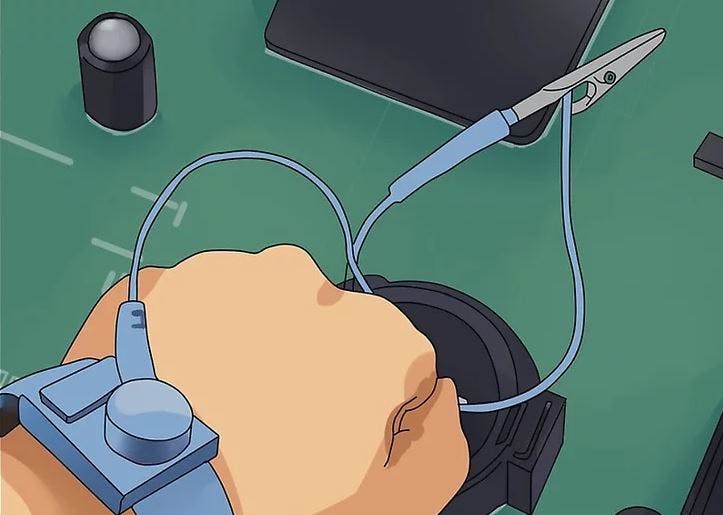
To release any accumulated static energy, ground yourself before touching anything inside your computer. A sensitive component could be harmed or destroyed if you discharge while touching it. Touching a metal water tap will help you ground yourself fast.
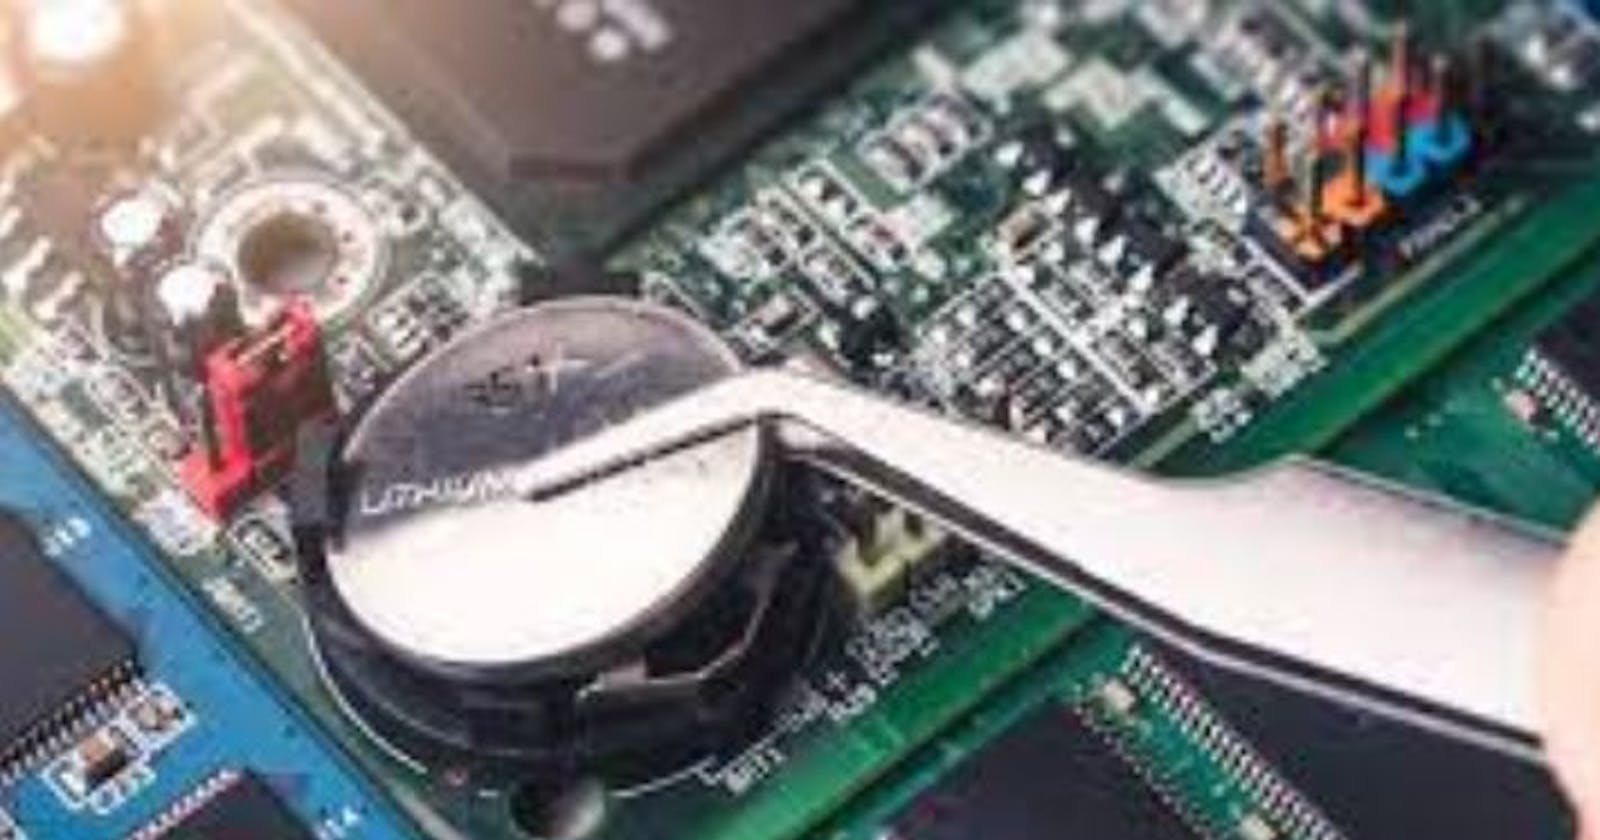
STEP 5: LOCATE THE CMOS BATTERY.
Its usual location is at the motherboard's edge and it will be silver. The battery has a diameter of almost 1/2 inch.
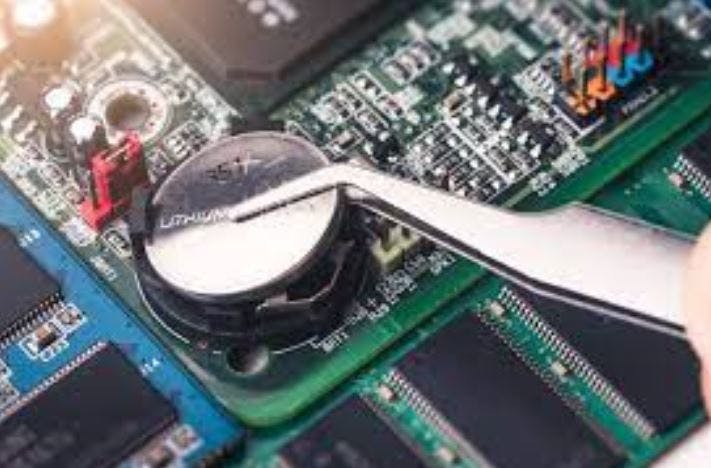
STEP 6: CAREFULLY REMOVE THE CMOS BATTERY

The majority of batteries are secured by one or two tiny clips. Pulling the battery out of the socket gently will allow you to set it aside.
NOTE: Some batteries might be fixed to the motherboard with solder and not be detachable. See the following section if you need to utilize a reset jumper in this situation.
STEP 7: WAIT FOR ABOUT 30 SECONDS WITH THE CMOS BATTERY OUT OF THE SOCKET.
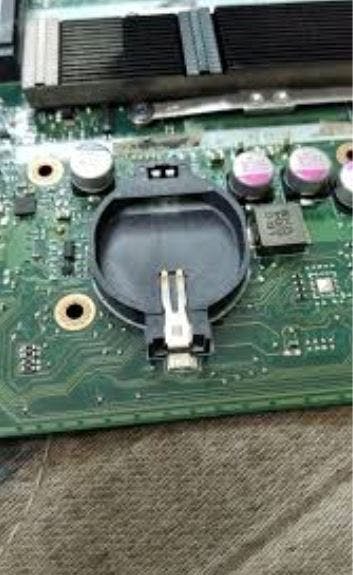
This will guarantee a complete reset of the BIOS settings.
STEP 8: REINSERT THE CMOS BATTERY.
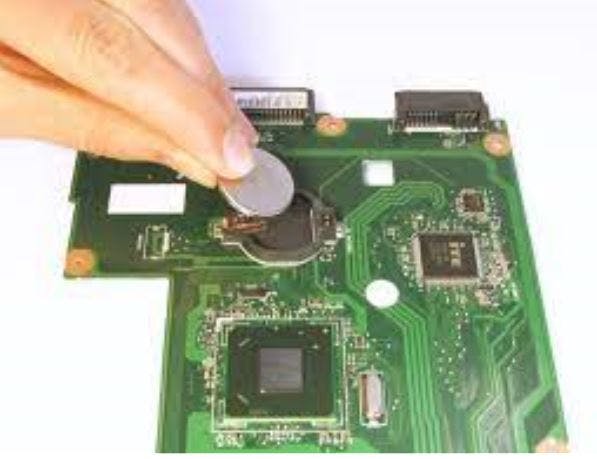
You can put the battery back in its socket after a brief waiting period of roughly 30 seconds. The proper side should be facing up as you insert it.
STEP 9: CLOSE YOUR COMPUTER AND RECONNECT ALL THE CABLES.
After this, you shouldn't need to enter the computer again, so be sure to shut it down entirely.
STEP 10: POWER ON THE COMPUTER AND ENTER THE BIOS.
As the computer boots up press the BIOS setup key. Your system clock will need to be reset as a result of the BIOS reset.
You will need to reset any BIOS settings modifications you previously made, such as drive assignment and boot order.
Conclusion
Congratulation! You just learned how to reset a forgotten BIOS password on a Windows computer by using the instructions in this user manual. By attempting to remove your BIOS memory battery, you can accomplish this.