The Best Ways To Install Several Bootable Operating Systems On A Usb Stick


Table of contents
TABLE OF CONTENT
Prerequisites
STEP 1: WinSetupfromUSB
STEP 2: Multi-Boot USB
STEP 3: X-Boot
STEP 4: YUMI: (Your Universal Multi-boot Installer)
Conclusion
Prerequisites:
Would you like to use a single USB stick to run multiple operating systems? Maybe launch a live environment, or perhaps set up the operating system? It’s simpler than you might think to figure out how to boot from a USB! Live Linux distributions and Windows installation media can both be stored on multi-boot USB sticks. That is a mini operating system specifically created to maintain a computer from a source other than the operating system of the computer.
This article will examine a number of open-source Windows tools for creating dual-boot and multiple-boot USB media. Use a high-quality USB drive, preferably one with a capacity greater than 8GB.
STEP 1: WinSetupfromUSB
WinSetupFromUSB is a top selection for creating multi-boot USBs and installing Windows from a USB. It is a user-friendly multi-boot software choice. WinSetupFromUSB, on the other hand, only works with versions of Windows 2000/XP and later, as well as Linux and BSD.
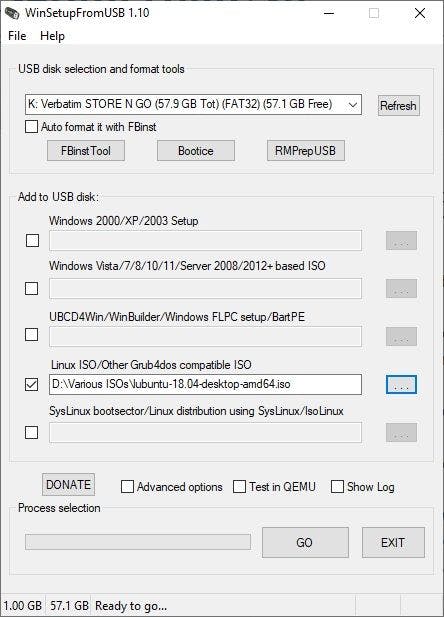
It’s simple to use WinSetupFromUSB.
Select your USB disk from the dropdown menu after starting the app.
Next, select the button next to the operating system you prefer.
Next, you must navigate to the volume that contains the operating system that you want to put on your multi-boot USB. Click the “Go” button when you are prepared.
If you’re curious, select the Show Log option to see a complete account of what’s happening. Finally, you’ll receive a Job done notification after the installation is finished.
STEP 2: Multi-Boot USB
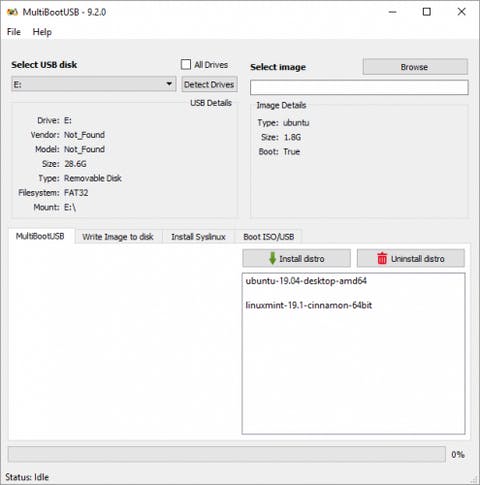
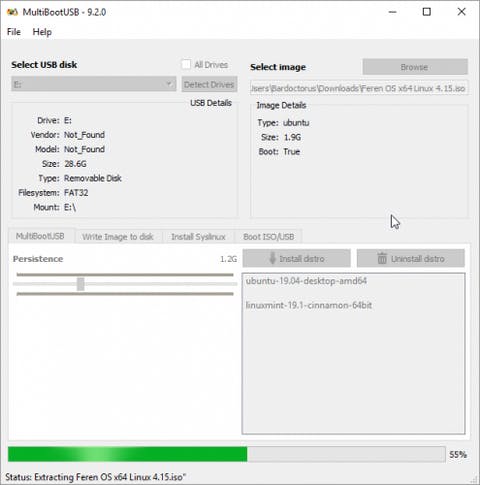
Multi-Boot USB is a pretty popular open-source program for creating a multi-OS bootable USB flash drive. The software is also a portable application, meaning it’ll run from your USB drive, and you do not need to install it. A widely used open-source tool for making multi-OS bootable USB flash drives is called Multi-Boot USB. A po also makes up the software. If you want to switch things around but aren’t at your home or office computer, this gives you a ton of freedom. It is simple to add several bootable OS distributions.
Click Select image and select your ISO. Although MutiBootUSB is compatible with both Windows and Linux, you can only build Linux Live USB systems.
After choosing your image, click Install distribution if you want to be able to save files on the partition and choose the persistence level you desire.
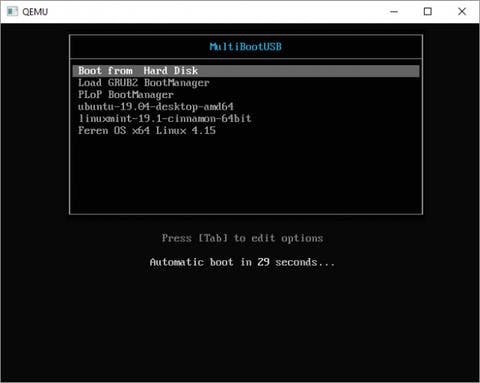
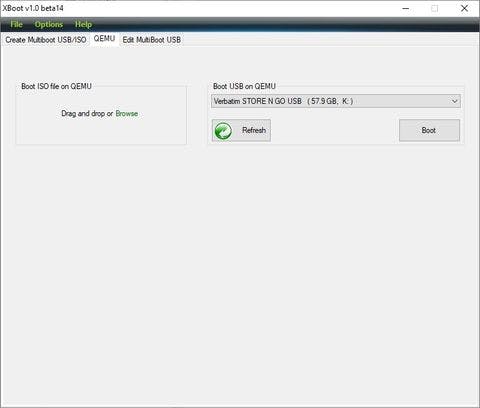
The inclusion of the virtualization program QEMU in MultiBootUSB is a fantastic feature that enables you to test
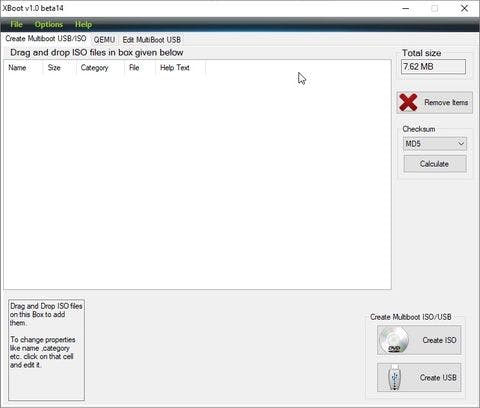
STEP 3: X-Boot
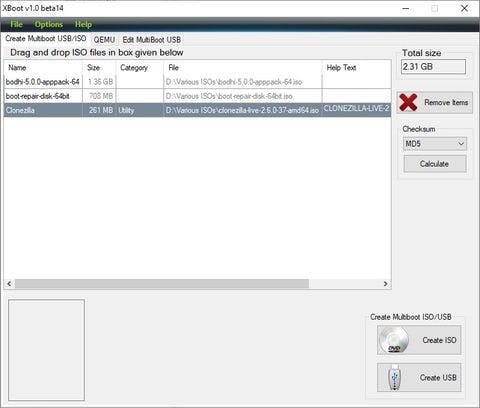
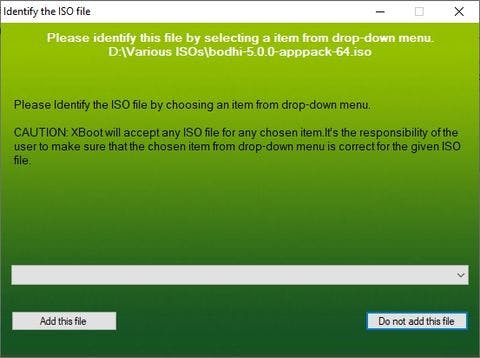
X-Boot has a lot more documentation than MultiBootUSB, but both programs don’t require a lot of instruction to use. XBoot provides a similar experience and is also portable media making it handy to use on the move. The documentation for X-Boot is far more extensive than for MultiBootUSB, but neither tool requires extensive training to use. Similar functionality is offered by XBoot, which is likewise portable media and convenient to use. XBoot’s installation is rather simple.
The executable file opens quickly when double-clicked.
Adding your ISOs is straightforward from there. Just drop them into the main box by dragging them there.
After that, select Create USB from the menu. You will be prompted by the program to choose the USB drive you want to use to install the ISOs on as well as the type of bootloader you want to use. XBoot advises Syslinux whether your USB stick is formatted to FAT32. Grub4DOS is available if the USB stick is formatted to NTFS.
STEP 4: YUMI: (Your Universal Multi-boot Installer)
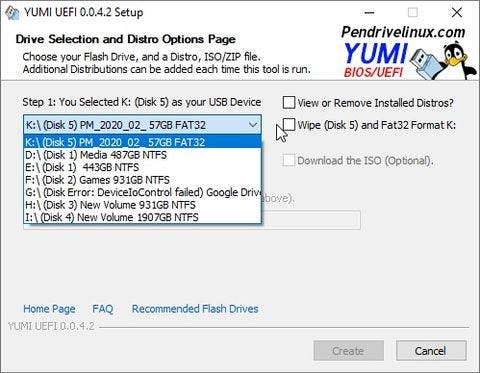
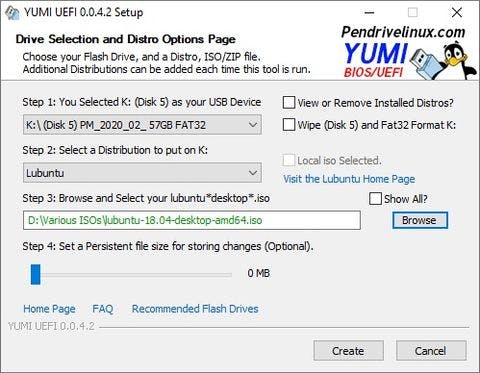

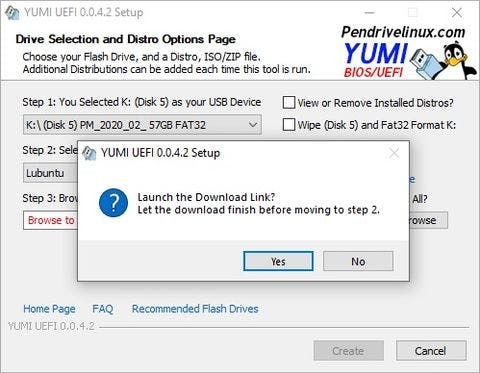
Although it doesn’t have as many features as some of the other tools on this list, the well-known utility YUMI is a good option for making multiboot USB sticks. The workflow at YUMI is a little different. Prior to accessing the ISO file on your hard drive or clicking the provided link to the homepage of your selected distro, you must first select the distro from the selection. Additionally, YUMI is available in two separate versions:
YUMI Legacy: Supports the FAT32 or NTFS file formats. just BIOS USB boot.
YUMI UEFI: Supports BIOS and UEFI USB booting through GRUB2, but only FAT32 (although this is distro dependent).
Consequently, you must choose the appropriate option when booting one of the most recent versions of Windows, such as Windows 10 or Windows 11.
Conclussion
Congratulations! In this tutorial, you have learned the best ways to install several bootable operating systems on a USB Stick. It’s worth knowing how to change the boot order on your PC so you can choose which one to boot from each time.
Remember, you cannot switch between operating systems once you boot into the OS. You have to choose the operating system you want to use during the boot process, restarting your computer to switch between each different operating system as you want to use them.